Dieses Tutorial bietet eine kurze Einführung in die Einrichtung des Joomla-Content-Management-Systems und des Warp-Frameworks. Es behandelt die Grundlagen der Konfiguration und Verwendung des Warp-Frameworks zum Erstellen einer funktionsfähigen Website.
Setup the Menus
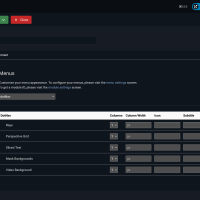
Um ein Menümodul in der Menümodulposition zu veröffentlichen, müssen Sie zuerst ein Menü erstellen. Gehen Sie dazu einfach zu Erweiterungen > Modul-Manager, erstellen Sie ein neues Menü-Modul und veröffentlichen Sie es in der menu-Position des Templates.
Modul in der Menüposition
Es ist möglich, jedes Modul in einer menu-Position zu platzieren. Der Modulname wird als Menüpunkt verwendet, und der Modulinhalt erscheint im Dropdown-Menü.
Menüstile
Drei verschiedene Menüstile sind verfügbar: die Navbar mit ihrem zugehörigen Mega-Dropdown, Navs mit einem Akkordeon-Effekt in Seitenleisten und Subnavs, die in der Werkzeugleiste oder im Footer erscheinen. Warp formatiert das Menü automatisch basierend auf seiner Modulposition.
Setup the Logo
Das Konfigurieren des Logos in Joomla ist ganz einfach. Erstellen Sie einfach ein Custom HTML-Modul in der logo-Position. Sobald dies erledigt ist, können Sie Ihr Markup im Feld Custom output hinzufügen.
Zum Beispiel können Sie den folgenden Code verwenden:
<img src="/images/my-logo.png" width="220" height="60" alt="logo" />Warp 7 bietet außerdem die logo-small-Position, in der Sie ein anderes Logo-Bild für kleinere Viewport-Größen anzeigen können.
Settings
Der Abschnitt „Einstellungen“ ermöglicht es Ihnen, die Aktionen und das gesamte Erscheinungsbild Ihres Templates zu verwalten.
Stil
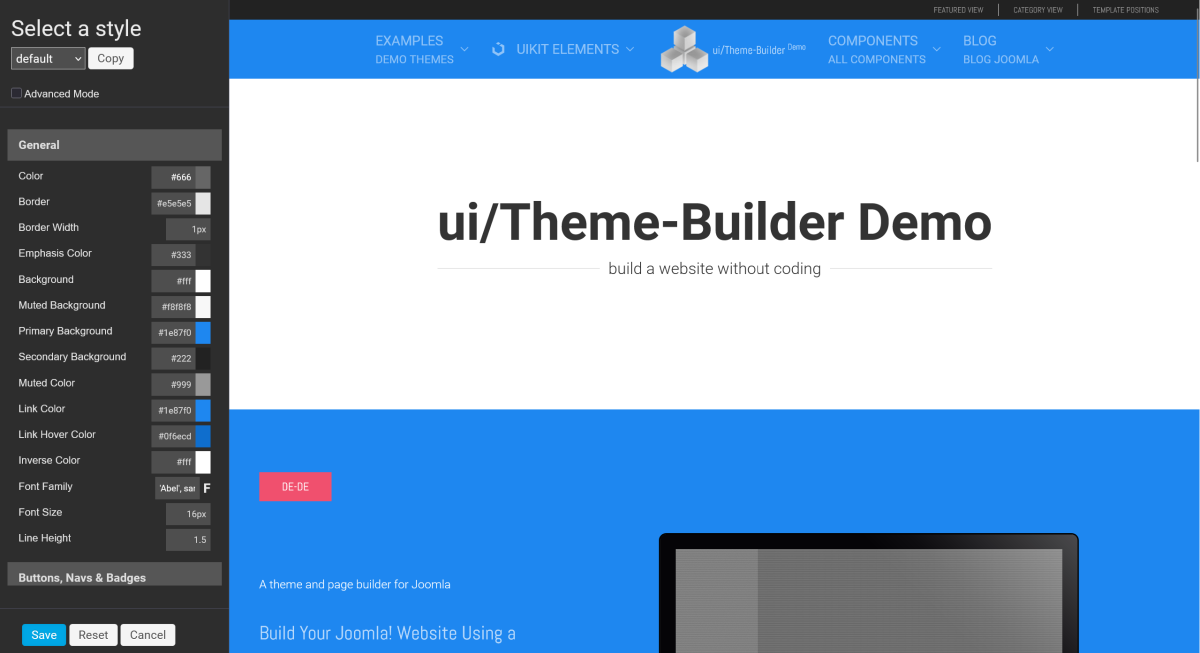
Der Abschnitt „Stil“ umfasst den Customizer. Klicken Sie auf die Schaltfläche Customizer, um Ihren eigenen Stil zu erstellen oder einen bestehenden Stil anzupassen. Sobald der Customizer geladen ist, können Sie ganz einfach Farben, Schriftarten, Abstände und andere Einstellungen des Themas anpassen. Der Customizer speichert nur die geänderten Variablen und wandelt diese automatisch in CSS um.
Entwicklung
1. LESS-Entwicklermodus
Wenn Sie die erste Option wählen, wandelt der Webbrowser Ihre LESS-Dateien sofort in JavaScript-Code um, wenn Sie eine Seite öffnen. Diese Einrichtung ist für Testzwecke geeignet. Es wird nicht empfohlen, den Entwicklermodus auf einer Live-Website zu aktivieren, da der häufige Umwandlungsprozess ineffizient ist.
2. Dynamische Stile
Die zweite Option ermöglicht es dem Browser, CSS von einer URL abzurufen. Dies ist vorteilhaft, wenn Sie verschiedene Designs für Ihre Webseite ausprobieren möchten. Deaktivieren Sie diese Option, wenn Ihre Webseite veröffentlicht wird.
3. LESS zu CSS kompilieren
Um Ihre Änderungen an den LESS-Dateien abzuschließen, drücken Sie die Schaltfläche LESS kompilieren, und alle Ihre Änderungen werden in das abschließende CSS zusammengefasst.
Es ist wichtig, dass Sie keinen neuen Code in den Ordnern /styles/STYLE-NAME/css/ erstellen, da dieser Inhalt jedes Mal ersetzt wird, wenn Sie die Schaltfläche LESS kompilieren drücken.
Kompression
Um die Ladezeit einer Seite zu verkürzen, wählen Sie eine der verfügbaren Kompressionsoptionen aus.
| Einstellung | Beschreibung |
|---|---|
| Keine | Jede Datei wird separat und in voller Größe geladen. |
| Kombinieren + Minifizieren | Diese Option reduziert die Anzahl der CSS- und JavaScript-Dateien, indem sie zu einer einzigen Datei zusammengeführt werden. |
| Kombinieren + Minifizieren + Data-URIs | Mit Data-URI werden Bilddaten direkt in das Dokument eingefügt, wodurch die Anzahl der HTTP-Anfragen für die zugehörigen Bilddateien verringert wird. Dies funktioniert nur für Bilder, die kleiner als 10 kB sind. |
| Kombinieren + Minifizieren + Data-URIs + Gzip | Statt große Datenmengen einzeln zu senden, ermöglicht Gzip eine schnellere Übertragung, indem die Daten in kleinere Pakete komprimiert werden. |
Eigenes Favicon / Eigene Icons
Zuerst müssen Sie das Fallback-Symbol (favicon.ico) auswählen. Wählen Sie anschließend ein Symbol im PNG-Format mit einer Auflösung von 512x512 Pixel. Nach dem Speichern besuchen Sie Ihre Webseite, und das Skript generiert automatisch Icons in den folgenden Formaten:
- 32x32px // Standard-Fallback für die meisten Desktop-Browser.
- 128x128px // Chrome-Web-Store-Symbol & kleines Windows 8-Star-Screen-Symbol
- 152x152 // iPad Retina mit iOS >= 7
- 167x167px // iPad Retina mit iOS >= 10 (in der Praxis verwendet iOS weiterhin 152×152)
- 180x180px // iPhone Retina
- 192x192px // Google Developer Web App Manifest Empfehlung
- 196x196px // Chrome für Android-Startbildschirm-Symbol
Anschließend werden die entsprechenden Meta-Links im Kopfbereich jeder Seite hinzugefügt.
Responsive
Das Meta-Tag „Viewport“ steuert das Erscheinungsbild einer Website auf Mobilgeräten. Wenn es nicht gesetzt ist, bleibt die Standardbreite der Website auf Mobilgeräten dieselbe wie auf Desktops, nämlich 980px. Das Tag „Handheldfriendly“ wurde ursprünglich verwendet, um mobile Inhalte in AvantGo-Browsern zu erkennen, hat sich jedoch zu einer üblichen Methode entwickelt, um mobile Seiten zu identifizieren.
Fehlereinstellungen
Das Meta-Tag „Refresh“ sollte mit Vorsicht verwendet werden, da es dem Benutzer die Kontrolle über eine Seite entzieht. Die Verwendung dieses Tags führt dazu, dass die W3C-Richtlinien für Barrierefreiheit nicht eingehalten werden.
Bootstrap
Durch die Auswahl dieser Option können Sie Bootstrap deaktivieren. Dies trägt zur Beschleunigung der Ladezeit bei, wenn Sie nur den Joomla-Blog und Artikel verwenden.
Inhalte
Aktivieren oder deaktivieren Sie das Designer-Branding und das Warp-Branding.
Module
Definieren Sie die Standardmodul-Designs für die entsprechenden Positionen.
Wenn Sie einen Stil für ein einzelnes Modul in den Moduleinstellungen auswählen, wird dieser Stil überschrieben.
Customizer
Lernen Sie, wie Sie das Erscheinungsbild Ihrer Joomla-Seite mithilfe von Template-Stilen steuern und wie Sie Ihre eigenen erstellen können.
Der Warp-Customizer vereinfacht Ihren Arbeitsprozess, indem er es Ihnen ermöglicht, neue Stile hinzuzufügen, ohne CSS-Kenntnisse zu benötigen. Er ist in zwei Bereiche unterteilt: Die linke vertikale Leiste zeigt die Einstellungen für das Theme, und auf der rechten Seite können Sie Ihr ausgewähltes Theme sehen. Alle Änderungen, die Sie im Customizer vornehmen, werden sofort in der Vorschau auf der rechten Seite angezeigt.
Stile
Ihre Anpassungen werden durch eine Reihe von LESS-Variablen definiert, die als Stil bezeichnet werden.
Einen neuen Stil erstellen
- Wählen Sie einen Stil im Customizer aus.
- Um einen Stil zu duplizieren, klicken Sie auf Kopieren und geben Sie einen neuen Namen ein.
- Sie können nun Ihren eigenen Stil erstellen.
- Sobald Sie mit Ihren Anpassungen zufrieden sind, klicken Sie auf Speichern, und der Customizer speichert Ihre Stil-LESS-Dateien im Ordner
/styles/STYLE-NAME/style.lessund kompiliert die CSS-Dateien in den Ordner/styles/STYLE-NAME/css.
Um Ihre Änderungen innerhalb eines Template-Stils rückgängig zu machen, klicken Sie auf die Schaltfläche Zurücksetzen, um die Theme-Werte auf den Standardzustand zurückzusetzen.
Verwendung
Der Customizer zeigt standardmäßig nur eine bestimmte Anzahl von Variablen an. Diese Variablen werden am häufigsten in Ihrem Theme verwendet. Sie können zwischen mehreren Customizer-Modi wählen, um festzulegen, wie detailliert Sie Ihr Theme anpassen möchten.
| Modus | Beschreibung |
|---|---|
| Erweiterter Modus | Der erweiterte Modus ergänzt die Standardvariablen um zusätzliche Entwickler-Variablen, die selten angepasst werden. |
| Mehr | Im erweiterten Modus zeigt die Schaltfläche (Mehr) neben den Gruppen alle definierten Variablen an. Das @-Zeichen kennzeichnet Variablen, die durch andere Variablen definiert sind. |
Layouts
Sie können die Positionierung der verschiedenen Layout-Bereiche über die Layout-Einstellungen steuern.
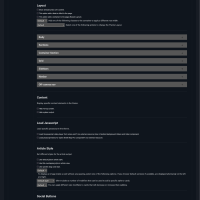
Dieser Abschnitt ermöglicht eine einfache und flexible Anordnung Ihrer Inhalte. Es bietet die Möglichkeit, die Systemausgabe zu aktivieren oder zu deaktivieren, das Layout von Theme-Widgets und Modulpositionen anzupassen sowie einen vorgefertigten Stil über den Customizer auszuwählen. Darüber hinaus können benutzerdefinierte Layout-Profile gespeichert und verschiedenen Seiten zugewiesen werden.
Layout-Manager
Der Layout-Manager ermöglicht die Erstellung neuer Layouts und deren Zuweisung zu bestimmten Seiten. Ein Standard-Layout wird von Warp als Referenz bereitgestellt.
Neues Layout erstellen
Um ein neues Layout zu erstellen, führen Sie die folgenden Schritte aus:
- Erstellen Sie ein Layout, indem Sie auf Hinzufügen klicken und einen Namen eingeben.
- Das war's! Sie können mit der Anpassung Ihres Layouts beginnen.
- Wählen Sie abschließend die entsprechenden Seiten für Ihr Layout im scrollbaren Bereich am unteren Rand der Layout-Einstellungsseite aus.
Stil
Mit dieser Option können Sie einen Stil auf Ihr Layout anwenden. In Kombination mit dem Customizer und dem Layout-Manager bietet dies ein hohes Maß an Flexibilität bei der Gestaltung Ihrer Seiten.
Layout
Diese Optionen umfassen das Hinzufügen von Breadcrumbs über dem Inhalt, einen Fade-In-Effekt für die Seite, einen Container für ein Boxed-Layout sowie die Möglichkeit, unterschiedliche Maximalbreiten für den Container mithilfe von Klassen anzuwenden.
Neu v1.8.0
Zukünftig werden weitere vorgefertigte Layouts verfügbar sein.
Die Optionen umfassen außerdem Einstellungen für das HTML-Body-Tag, die Verwendung von Abschnitten zur Unterteilung des Inhalts in unterschiedlich gestaltete Blöcke, die Nutzung der .uk-container-Klasse zur Festlegung einer Maximalbreite und zum Umhüllen des Hauptinhalts der Website, die Auswahl eines Grid-Layouts für jede Position, die Anpassung der Sidebar-Breiten und -Ausrichtungen, das Aktivieren oder Deaktivieren einer Sticky-Navigation und die Erstellung einer Off-Canvas-Sidebar, die in die Seite hinein- und herausgleitet – ideal für die mobile Navigation.
Inhalt
Um die Haupt-Systemausgabe auszublenden, wählen Sie diese Option. Dies kann nützlich sein, wenn Sie auf bestimmten Seiten nur Module anzeigen möchten, ohne zusätzlichen Leerraum zu hinterlassen.
Darüber hinaus können Sie den Nach-oben-Scroller aktivieren oder deaktivieren.
Javascript laden
Diese Option lädt den Javascript-Video-Player von vimeo.com und/oder die Javascript-Bibliothek für die Open Street Map Pro-Komponente. Die erforderlichen Skripte müssen in die Webseite eingebunden werden.
Artikelstil
Diese Option betrifft die Anpassung des Erscheinungsbildes von Artikeln und Blogs auf einer Website mithilfe des UIkit-Frameworks. Die Optionen umfassen die Verwendung eines Titel-Überlagerungsstils in der Artikelansicht, eines spezifischen Blog-Kartenstils sowie Optionen zur Anzeige von Bildern innerhalb von Karten ohne Abstände. Außerdem beinhaltet das UIkit-Framework verschiedene Modifikatoren, die spezifische Stile zu Karten hinzufügen können, und unterschiedliche Größenmodifikatoren, die angewendet werden können, um die Abstände der Karten anzupassen.
Social Buttons
Sie können die Option Social Buttons aktivieren, mit der Benutzer Artikel über kleine Widgets unter Joomla-Artikeln mit anderen teilen können. Die 2-Klick-Social-Buttons-Option ist datenschutzfreundlich, da die Buttons erst geladen werden, wenn der Benutzer darauf klickt.
Zusätzliche Skripte
In diesem Abschnitt können Sie Ihren Google-Analytics-Tracking-Code oder andere zusätzliche Skripte einfügen. Diese werden vor dem Schließen des Body-Tags im Theme hinzugefügt.
Modules
Verwalten Sie Ihre Joomla-Modulstile und -einstellungen.
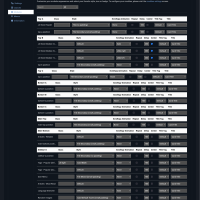
Module können in verschiedenen Stilen mit zusätzlichen Icons und Badges angezeigt werden. In der Warp-Modulübersicht werden Module nach den Positionen gruppiert, in denen sie veröffentlicht sind. Zusätzlich können Sie sie nach Schlüsselwörtern und Positionen, denen sie zugewiesen sind, filtern.
Einstellungen
Diese Tabelle gibt Ihnen einen Überblick über alle verfügbaren Moduloptionen.
| Einstellung | Beschreibung |
|---|---|
| Klasse | Ermöglicht es Ihnen, eigene benutzerdefinierte CSS-Klassen hinzuzufügen. |
| Stil | Erlaubt die Auswahl eines vordefinierten Modulstils aus der Dropdown-Liste. |
| Scrollspy-Animation | Ermöglicht die Auswahl eines Animation-Voreinstellung aus der Dropdown-Liste. |
| Wiederholen | Wendet die Animation jedes Mal an, wenn das Element sichtbar ist. |
| Verzögerung | Verzögerungszeit in Millisekunden. |
| Zentrieren | Zentriert den Modulinhalt. |
| Titel-Tag | Legt das HTML-Tag für den Titel fest. Standard ist h3. |
| Titel | Legt die Größe/das Design des Modultitels fest. |
| Icon | Ermöglicht die Auswahl eines Icons aus der Vorschau. Sie können auch einen Pfad zu einem benutzerdefinierten Bild eingeben. Geben Sie den vollständigen Pfad ein, z. B. /images/MEIN-BILD.jpg. |
| Icon Extras | Ermöglicht die Auswahl einer Icon-Größe oder eines Animations-Voreinstellung aus der Dropdown-Liste. |
| UIkit Icons | Fügt das UIkit-eigene Icon-System hinzu, z. B. settings und 2, um das Icon-Verhältnis auf das Doppelte zu erhöhen. |
| Badge | Diese Option fügt Ihrem bestehenden Modul ein "Badge" hinzu. Sie können den Text für das "Badge" eingeben und eine Farbe auswählen. |
| Anzeige | Zeigt ein Modul auf bestimmten Geräten wie Fernsehern, Desktops, Tablets oder Handys an. |
Info
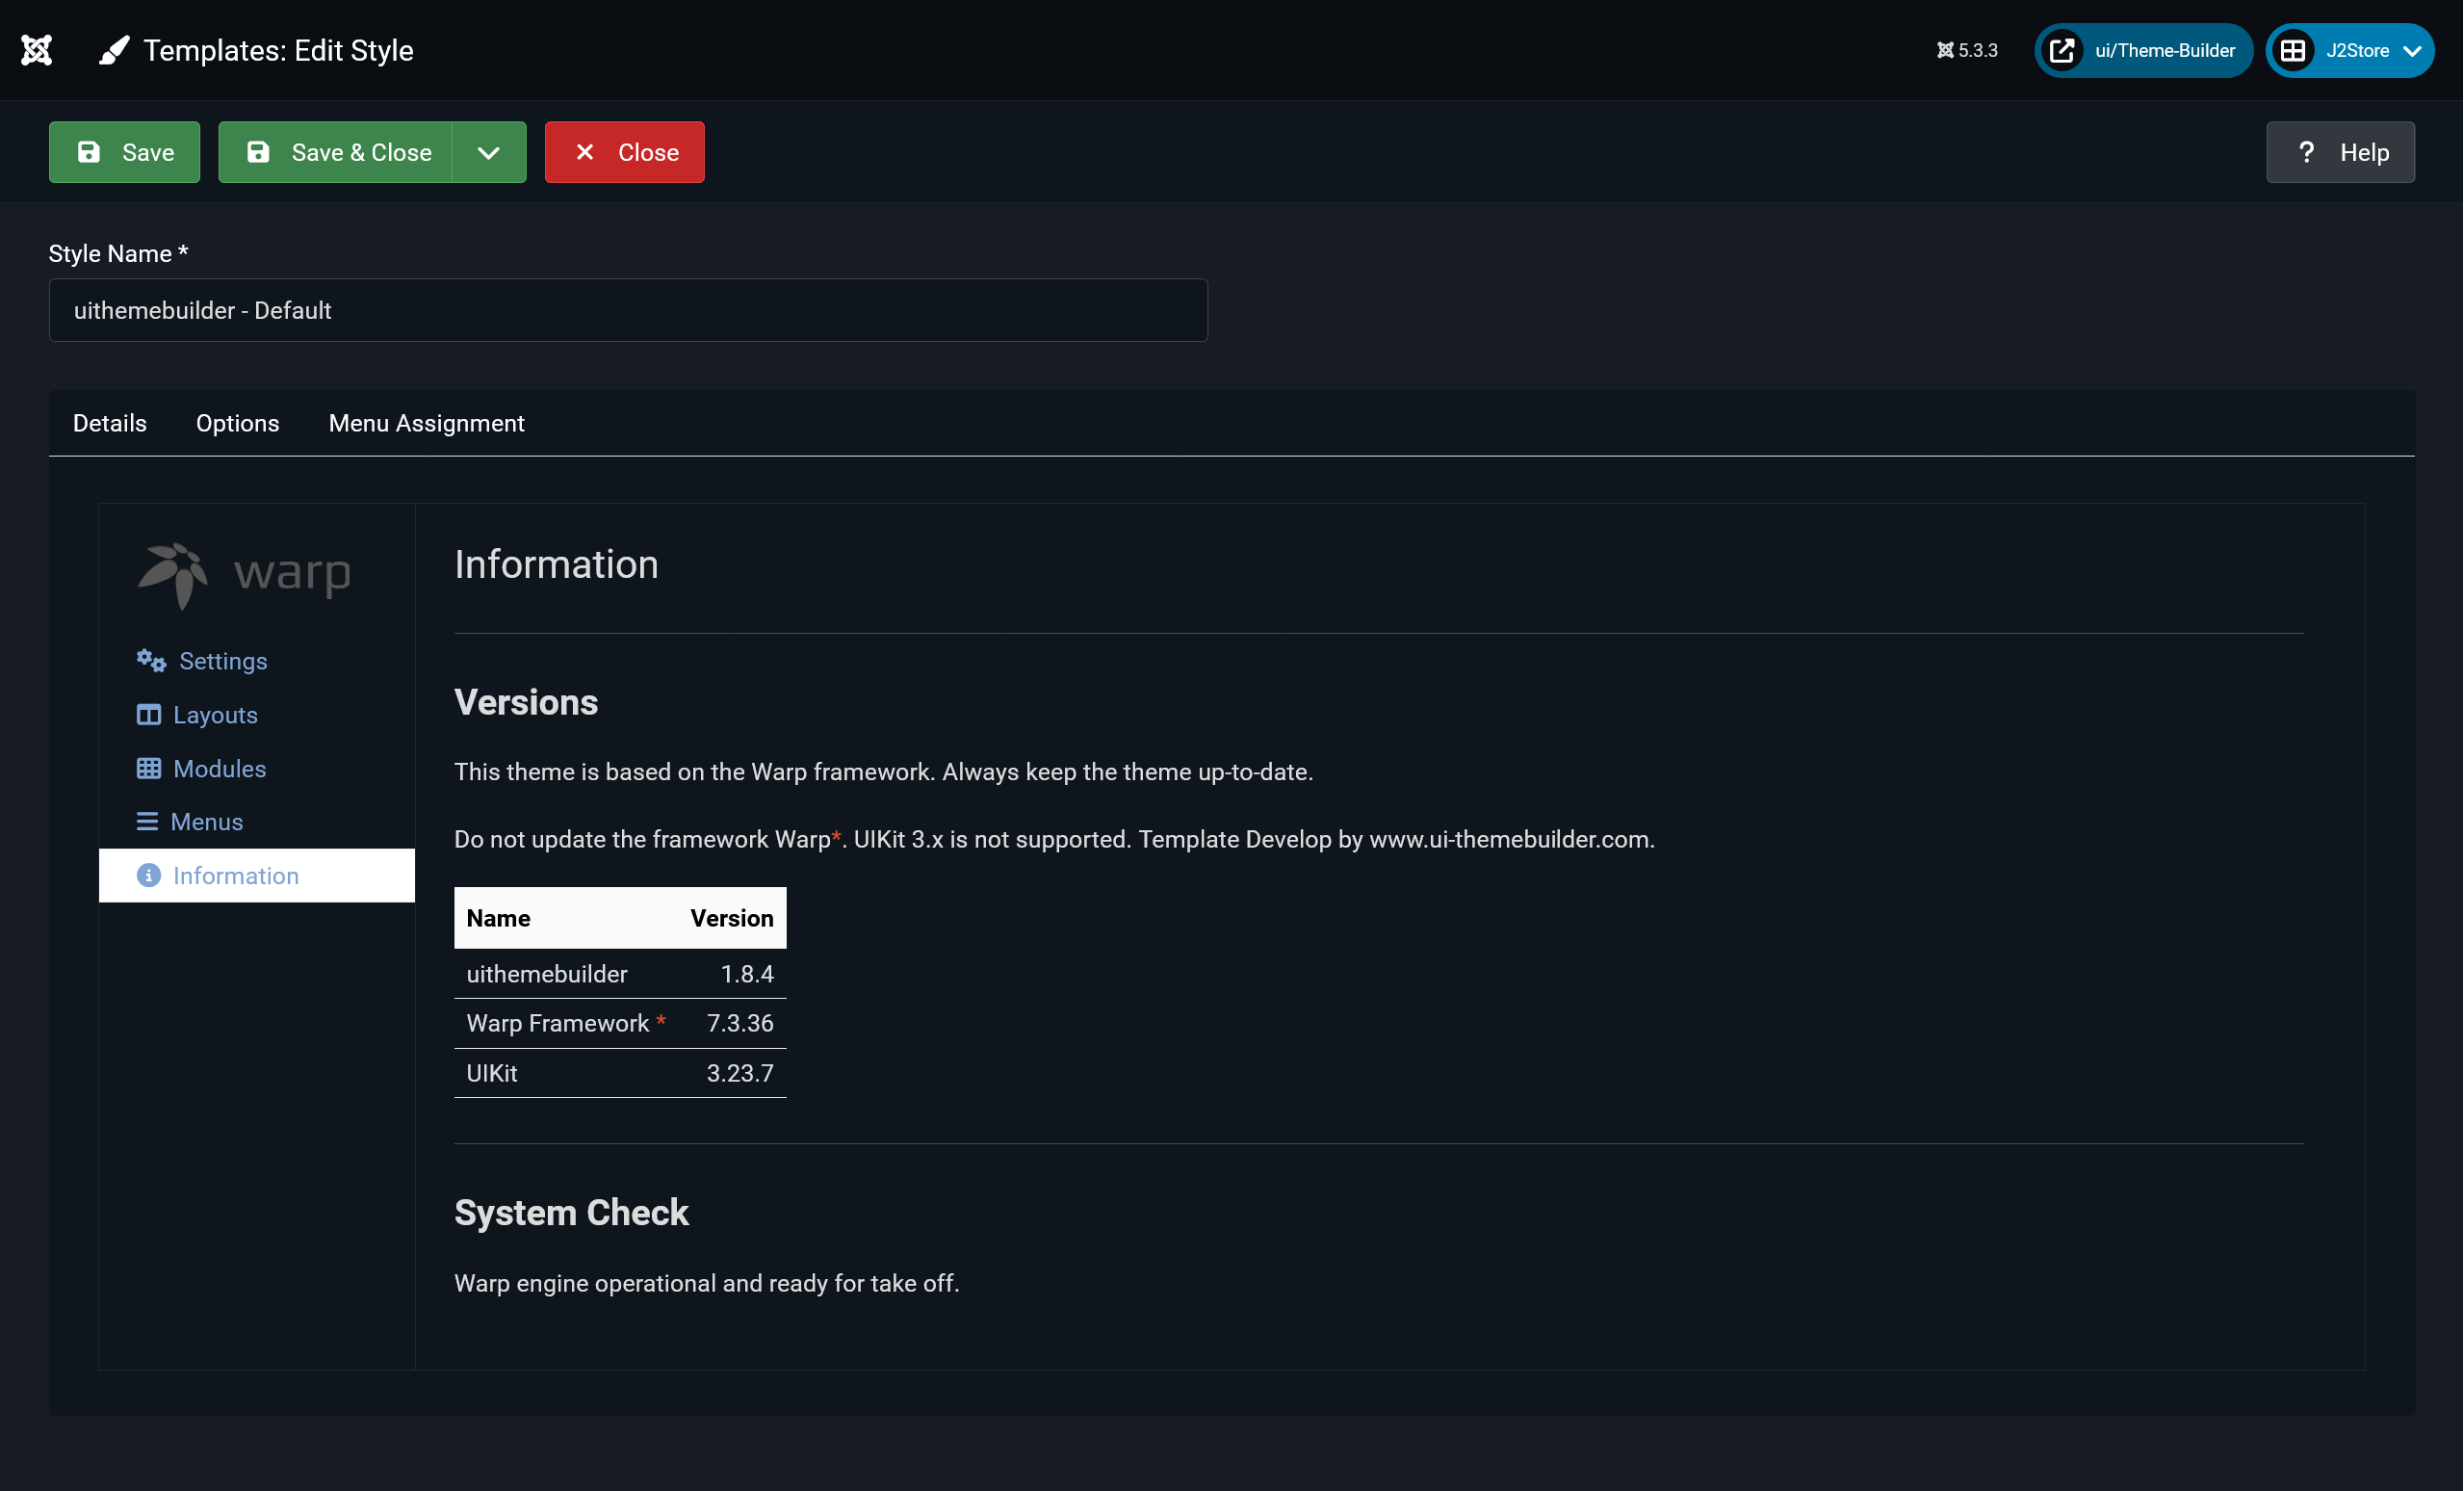
Info Das Template basiert auf dem Warp-Framework. Aktualisieren Sie das Warp-Framework nicht.
UIKit 3.x wird nicht unterstützt. Template wird weiter entwickelt von www.ui-themebuilder.com.
